
In this post, I’ll give an overview and some recommendations, based on my very own experience, and preference. Your mileage will vary, as we’re all different.
Layers For The Win! — The “Onion Principle”
Organizing and wearing your clothes in independent layers works for every season.
I follow one simple rule:
The lower* the layer, the more snug it should fit. — A little “compression” is always a good idea.
*= low here meaning close to the skin.
In my experience, it’s better to start with thin layers. Only add thicker (and more loosely-fitting ones) on top, if and when required.
This ensures that moisture is wicked away from the skin and transported towards outer layers, instead of being trapped close to your body where it would actually have a cooling effect, something you don’t want on cold weather rides. Conversely, the more loosely fitting outer layers will trap more air and thus provide improved insulation.
If you are interested, search the Internet for “layered clothing” or similar terms and you will find many loads of advice.
You may even come across “ECWCS”, the “Extended Cold Weather Clothing System” of the U.S. military … at its core principles not at all different from temporary technical cycling apparel for the colder months of the year.
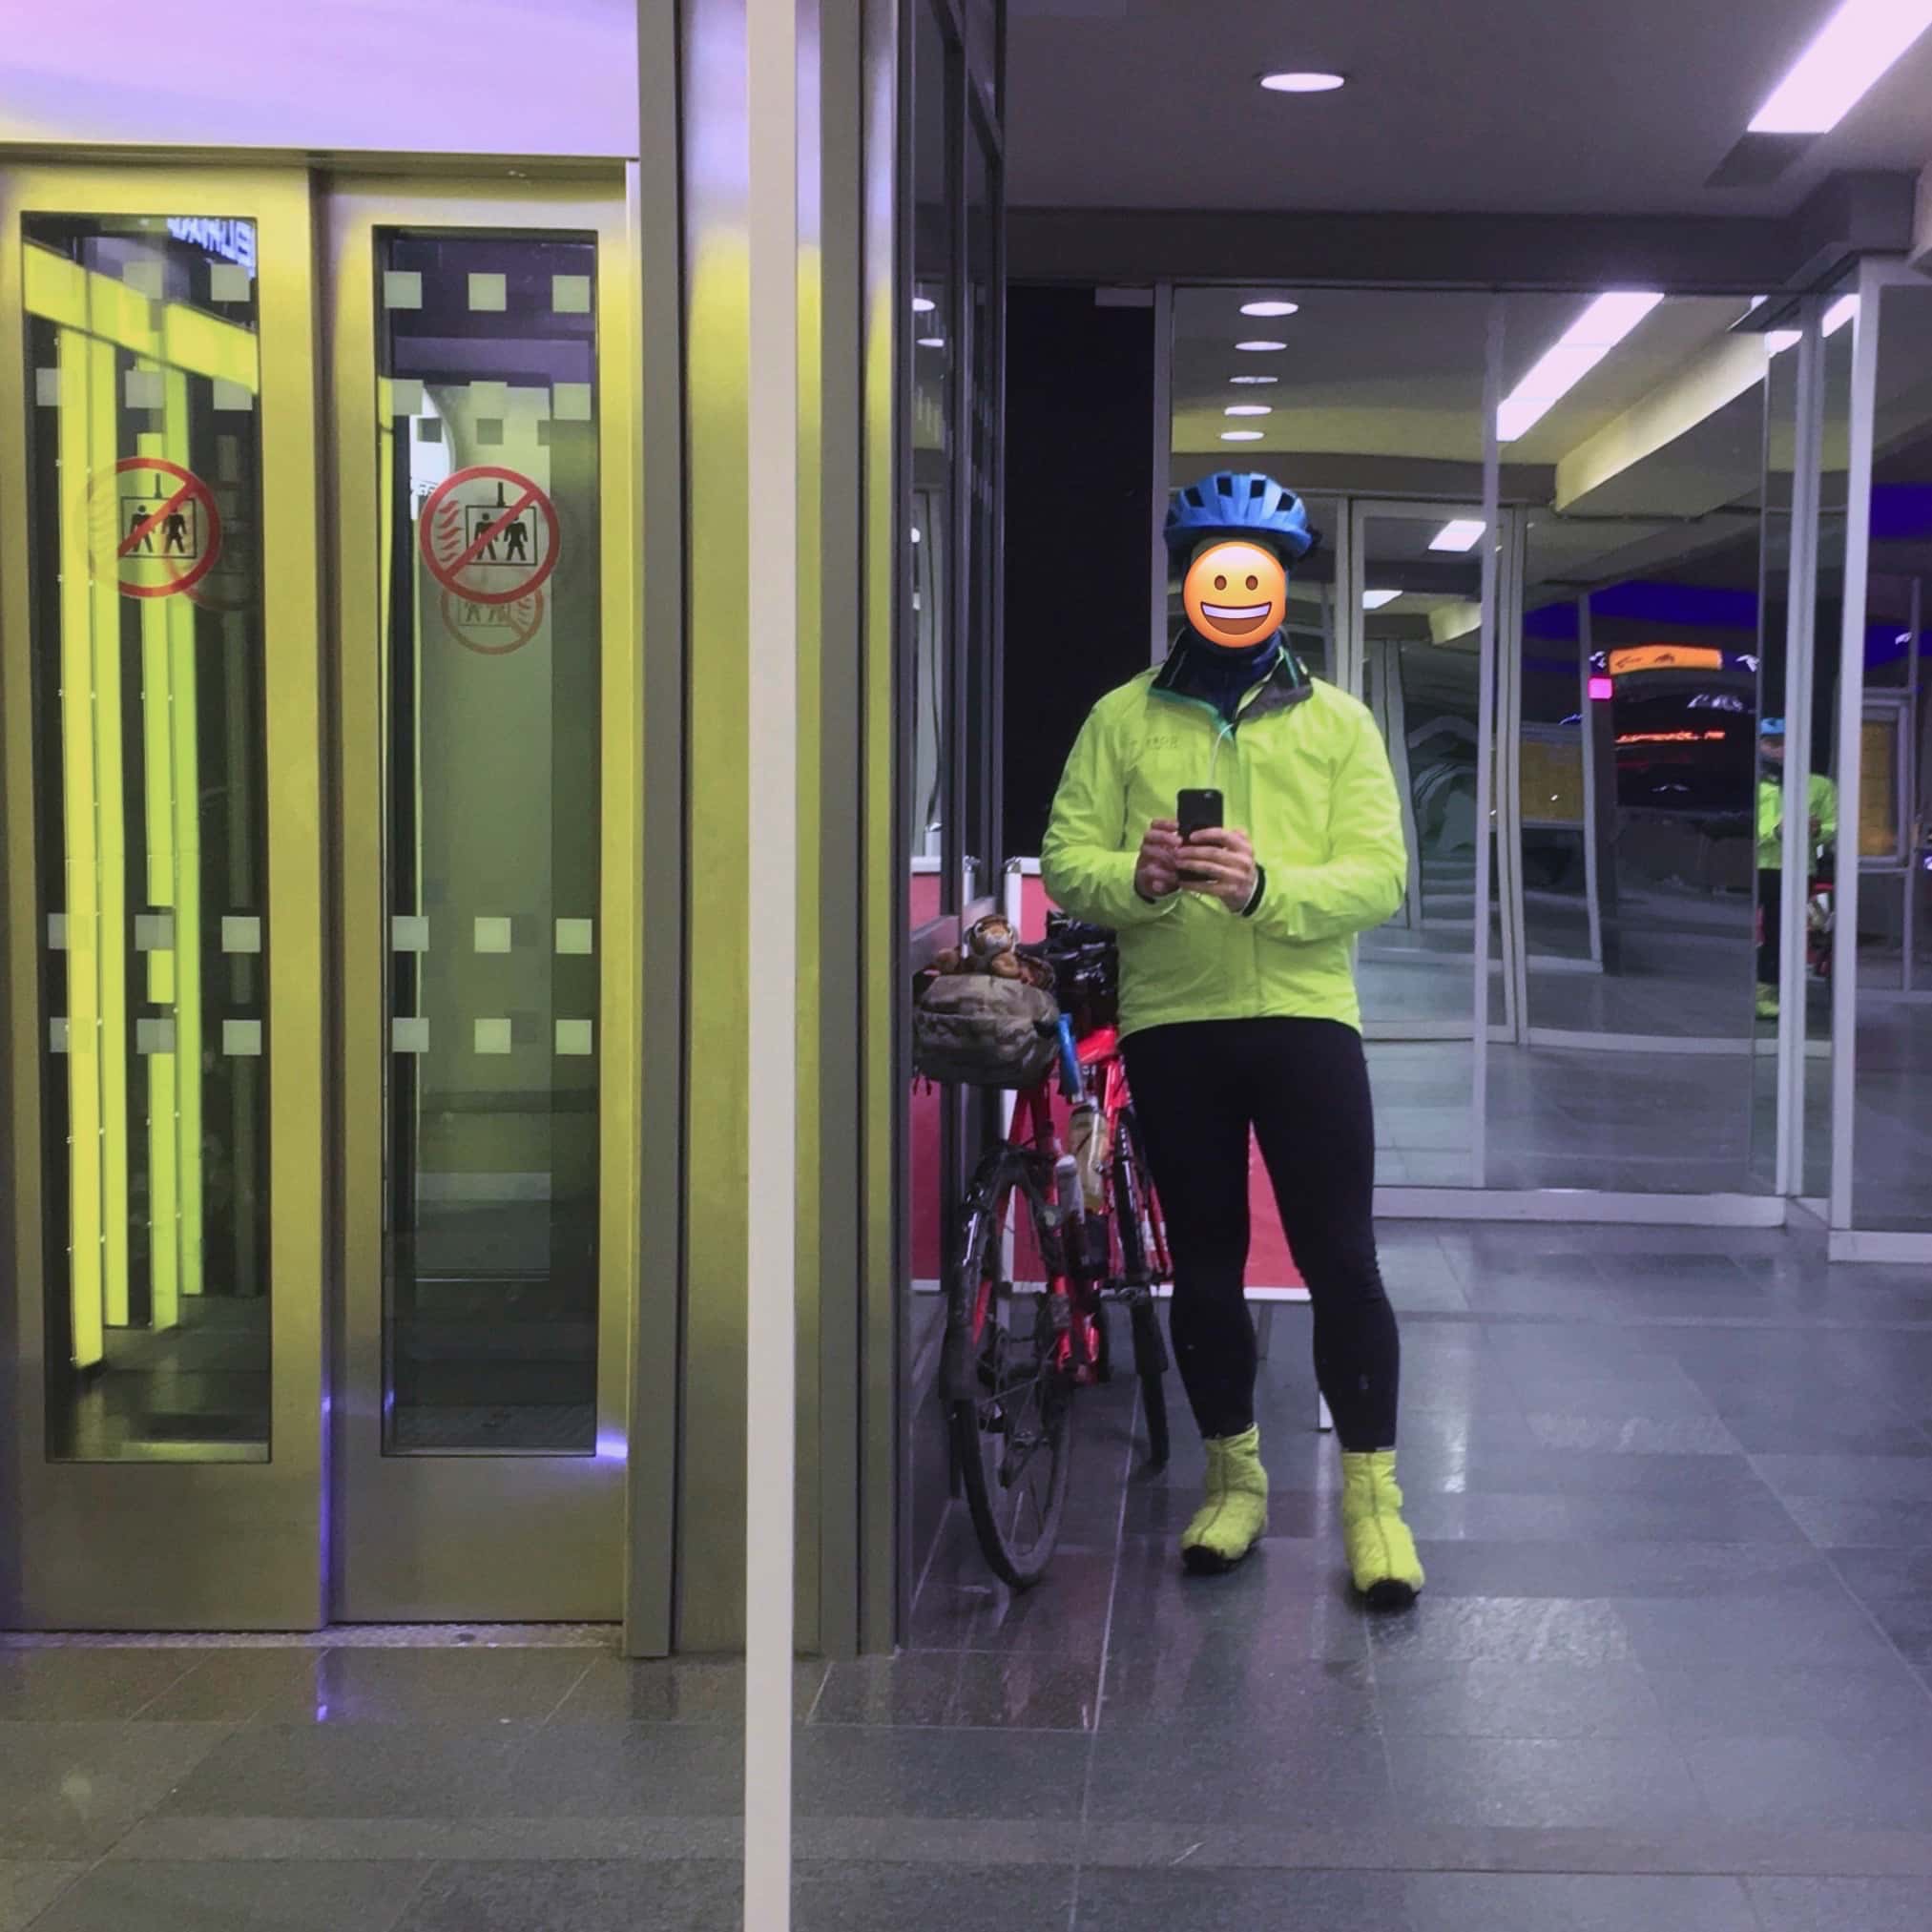
Upper Body
With a baselayer made from Merino wool, and a Castelli “Perfetto”* outer layer, my arms serve as “heat sinks” to constantly dissipate excess body temperature.
*=The Perfetto is a more recent incarnation of Castelli’s classic “Gabba”, a lightly insulated, windproof and water-repellent long-sleeve jersey/jacket with a full-length zipper. It also has zippers under the arms. Those zippers hide some mesh inserts that will increase ventilation when open. I actually sometimes open all zippers, including the front one, on extended climbs, even with outside temperature around freezing. But that may be only me.
My Perfetto is from 2017, ancient if you consider that Castelli has since revamped that entire product line, with supposedly still improved materials. Also, similar pieces are available from practically all major brands as “thermal” or “foul weather” jerseys. But there are differences, in fit, quality and price. As always, be prepared to experiment. And choose wisely.
To protect myself from hypothermia, a windproof, heavily insulated “gilet” (French for “vest”) goes over the Perfetto, keeping my core well warm and cozy and providing some extra pockets (… more on pockets and how to stash your gear and supplies later). My insulated gilet of choice is the Velocio “Recon Vest” which has likely saved me from the common cold, winter flu and pneumonia a couple of times already.
Before long, cold descents, and when I feel exhaustion kicking in or outside humidity rising, I put on a Gore-Tex rain jacket and adapt my level of exertion to keep the technical membrane transporting moisture from inside the jacket to the outside. — There are few things worse than being soaked from precipitation while riding in the single-digits.
If temperatures fall or stay below zero, I occasionally wear an additional short sleeve or sleeveless Merino jersey between baselayer and the Perfetto. And I then may even decide to put on my Gore-Tex rain jacket during the entire ride.

Head & Neck
Underneath my helmet, on my head and over the ears I wear a thin Merino “skull cap”. At least to me, this provides enough protection in temperatures as far down as hovering around zero. If that sounds too chilly, dedicated “balaclavas” and winter caps exist, and some wind gaiters extend down to your chest to offer added protection from the wind.
And you will have seen people covering their helmets from the outside: Rain covers are available, again in a myriad of designs and materials. I tried some simple waterproof ones, but I didn’t hesitate when those wouldn’t fit and I instead found a perfectly sized Gore-Tex cover at a heavy discount.
Around my neck I add a “Buff”, one of those tubular neck gaiters and pull it up behind my head and (again) over the ears. This leaves just the central part of my face exposed. And I can quickly pull the front of the gaiter up to cover mouth and nose to provide some semblance of a face mask when and where required.
The Buff I use around my neck is made of “ThermoNet” a lightweight material that wicks away sweat, preventing moisture build-up which is particularly risky in winter winds. But there are other fabrics with other brand names too that’ll do the trick.
If I need more warmth, e.g. on long descents, when tiredness sets in after 2/3rds of a ride, or in temperatures constatly below zero, I add more Buffs made of Merino (different weights/thicknesses). Excess material I usually lay flat over the back of my head and trap it between the collar of my Recon vest and the Perfetto.

Lower Body & Legs
From back in the 90’s I still have a bit of cycling kit that simply doesn’t go away, fits great, is of superb quality and machine-washable at 40 degrees (Celsius).
Among those items are several cycling undershorts (tight fitting mesh with a thin, synthetic chamois) from the U.S. brand “Hind” (now “gh sports”). I combine them (alternatingly of course, not all at once) with long autumn or winter tights when it gets really cold. The tights are “Habu” and “Bonka” from Assos of Switzerland (and I purchased both at a discount, mind you!).
Anyways, the combination of extra shorts with thermal tights leaves the lower part of my legs slightly less insulated. They function as heat sinks too, just like my arms. And as the legs are in constant motion, they usually feel fine much longer than my upper extremities.
Be warned however: If you have trouble with your knees, please keep them extra warm, especially during the first hour or two of a winter ride. Maybe get some knee warmers and put them on, at least for the start of the ride.
For really cold and long days in the saddle I again resort to my Gore-Tex rain outer pants, though this has happened on only two or three occasions over the past years. And I have friends who always wear windproof outer MTB shorts or knickers (without chamois) over their autumn or winter tights, again to add an extra layer of insulation and wind protection.
Hands
Back in 1990, I purchased a pair of Cannondale long-finger winter gloves.
Then, that brand was still an independent, U.S.-based company. They didn’t yet exclusively specialize on bikes and also designed and manufactured innovative cycling apparel and other equipment of outstanding quality.
I already owned one of their fall/winter jackets. That piece had been a game changer for me, a kid from rural north-western Germany, braving constant headwinds and foul weather near the coast. And, similar to endeavours like the Rapha #Festive500 nowadays, for Christmas of 1990, I set myself a long-distance cycling challenge: To ride (most of the way) from University in Göttingen back to my family in East Frisia.
Hands and feet suffer the most on long winter rides. My feet were prepared though: I had years previously found some heavily insulated neoprene overshoes (cf. below). But something had to be done about my fingers. When I saw those Cannondale gloves available at a local bike shop, I went on a rigorous diet to save up part of my food money in exchange for solid protection from the cold. And I have never regretted that purchase.
Meanwhile, more than two and a half decades later, I found some similar “Early Winter” gloves from Assos. Advances in material science and apparel design make them even warmer than my Cannondales which I still hold dear.
And as with other winter kit, it’s all about strategic sizing, combinations and layers: I also own several pairs of cheap, tight-fitting synthetic and also Merino long finger gloves which on very cold rides I wear inside the not-so-tight Assos.
For rides in temperatures mostly above zero and/or with a lot of humidity I have another option “at hand”: Castelli Perfetto gloves (the identical lightly insulated, windproof material as the jacket of the same name). I have worn them even on 5-6 hour rides through rain in temperatures around freezing. Yes my hands became clammy, but as I maintained a constant, relatively high level of exertion, it never got to a point where my hands felt particularly cold.
On really long rides or when the weather forecast is very volatile, as a last resort, together with all the other rain gear, I carry a pair of “lobster” overgloves. Those have only three “fingers”, combining pinky and ring finger as well as middle and index finger respectively, leaving only the thumb to its own pouch. The overgloves are nothing but an ultra-lightweight waterproof shell that will serve to trap an additional layer of insulating air, reduce overall surface area (less of a cooling effect) and also prevent my hands from getting soaked in cold winter downpours.
Feet
When we set out on our first true winter ride, most of us are as unprepared as it comes. We return home with toes frozen stiff and red and can barely walk. Desperately we yearn for a hot bath or shower. And then the feet hurt as steaming water flows around and rescues them from frost bite. And we learn from that experience.
First of all, don’t wear sneakers! At least avoid the ultra-lightweight type. Better use somewhat insulated and waterproof hiking shoes or mid-height boots if you have them lying around. You want something that protects your feet against the elements.
If you own a pair of (summer) cycling shoes, check them for “air vents”, more or less tiny holes at the front and sometimes underneath your soles. These openings are designed to channel air into the shoes, mostly at the toebox and underneath your foot. In the warmer months, this aids cooling and, during extended hot weather rides, prevents the dreaded “hot spots” on the soles of your feet. Tape these holes shut, temporarily (and use a sticky tape that can be removed without permanently damaging your shoes, of course).
And for the cold and often wet conditions of autumn and winter, I’d always favor MTB-specific footwear with treaded soles (mostly available for 2-hole SPD clipless or standard flat pedals only) over road race-specific (3-hole SPD-SL or similar). So, if you do not own any cycling shoes yet, and your bike then likely has flat pedals, proceed to use those warm winter hiking shoes you already own (cf. above). Maybe cherish the fact that you actually can focus on optimizing not the footwear but other parts of your kit. Better to first experiment — then spend your hard-earned cash.
Next, it’s a good idea to wear woolen socks (Merino, again). Avoid cotton, as that will accumulate moisture like a sponge and have your feet feel like blocks of ice in no time. Try socks of different weights and ankle lenghts. Most will actually be made from a blend of Merino wool with synthetic fibers. But that is OK, as e.g. high-quality polyamide improves stability and wear resistance. Polyester in turn keeps moisture away, and Lycra then is often included to provide a snug fit through elasticity. And it also gives you compression which is good, at this point, as it aids blood flow, keeping your feet warmer. Nothing more to this. But important nonetheless.
Overshoes are a great invention too. Any kind will provide an additional layer of insulation, but I prefer those made of neoprene. Over the years I have added some Gore-Tex rain overshoes to the mix and carry them with me on really long or predictably wet rides, (again) as a last resort.
If your overshoes are a bit less tight-fitting they trap more air and thus insulate even better. They may also allow to be stuffed with newspaper around the front, the toebox, a good idea to keep your toes extra-warm. A friend recently rediscovered this ancient trick of venerable cyclists in the more alpine habitats, and he was uber-happy.
Finally, and after you’ve experimented with socks and overshoes, and you still want to continue to or even increase the time spent riding your bike outside in the winter … I heavily recommend investing in good footwear.
Try finding insulated and waterproof cycling winter “boots”. As long as your feet and ankles allow for it, those boots should be of a slightly higher build and have a soft, warm neoprene cuff at the top. Some boots feature a technical membrane that ensures breathability while keeping light rain or drizzle out, like Gore-Tex (again). But to keep your feet dry when real rain sets in, you will always need to wear rain pants over the cuffs of those boots anyway.
Late winter and early spring clearout sales are great opportunities. Savings of 30% to 40% are common, bringing really good boots down to a more affordable price range.
And don’t choose lightly — experiment:
As with other shoes, they must fit, first and foremost, without feeling loose or your heals slipping and chafing. But be sure to err on the larger or wider side: You don’t want to compress your feet (and socks). Much the opposite: Your toes need “wiggle space” and woolen winter socks work by trapping air in between the skin of your feet and the shoes surrounding them. Tightly compressing everything reduces this layer of air and takes away the insulating effect.

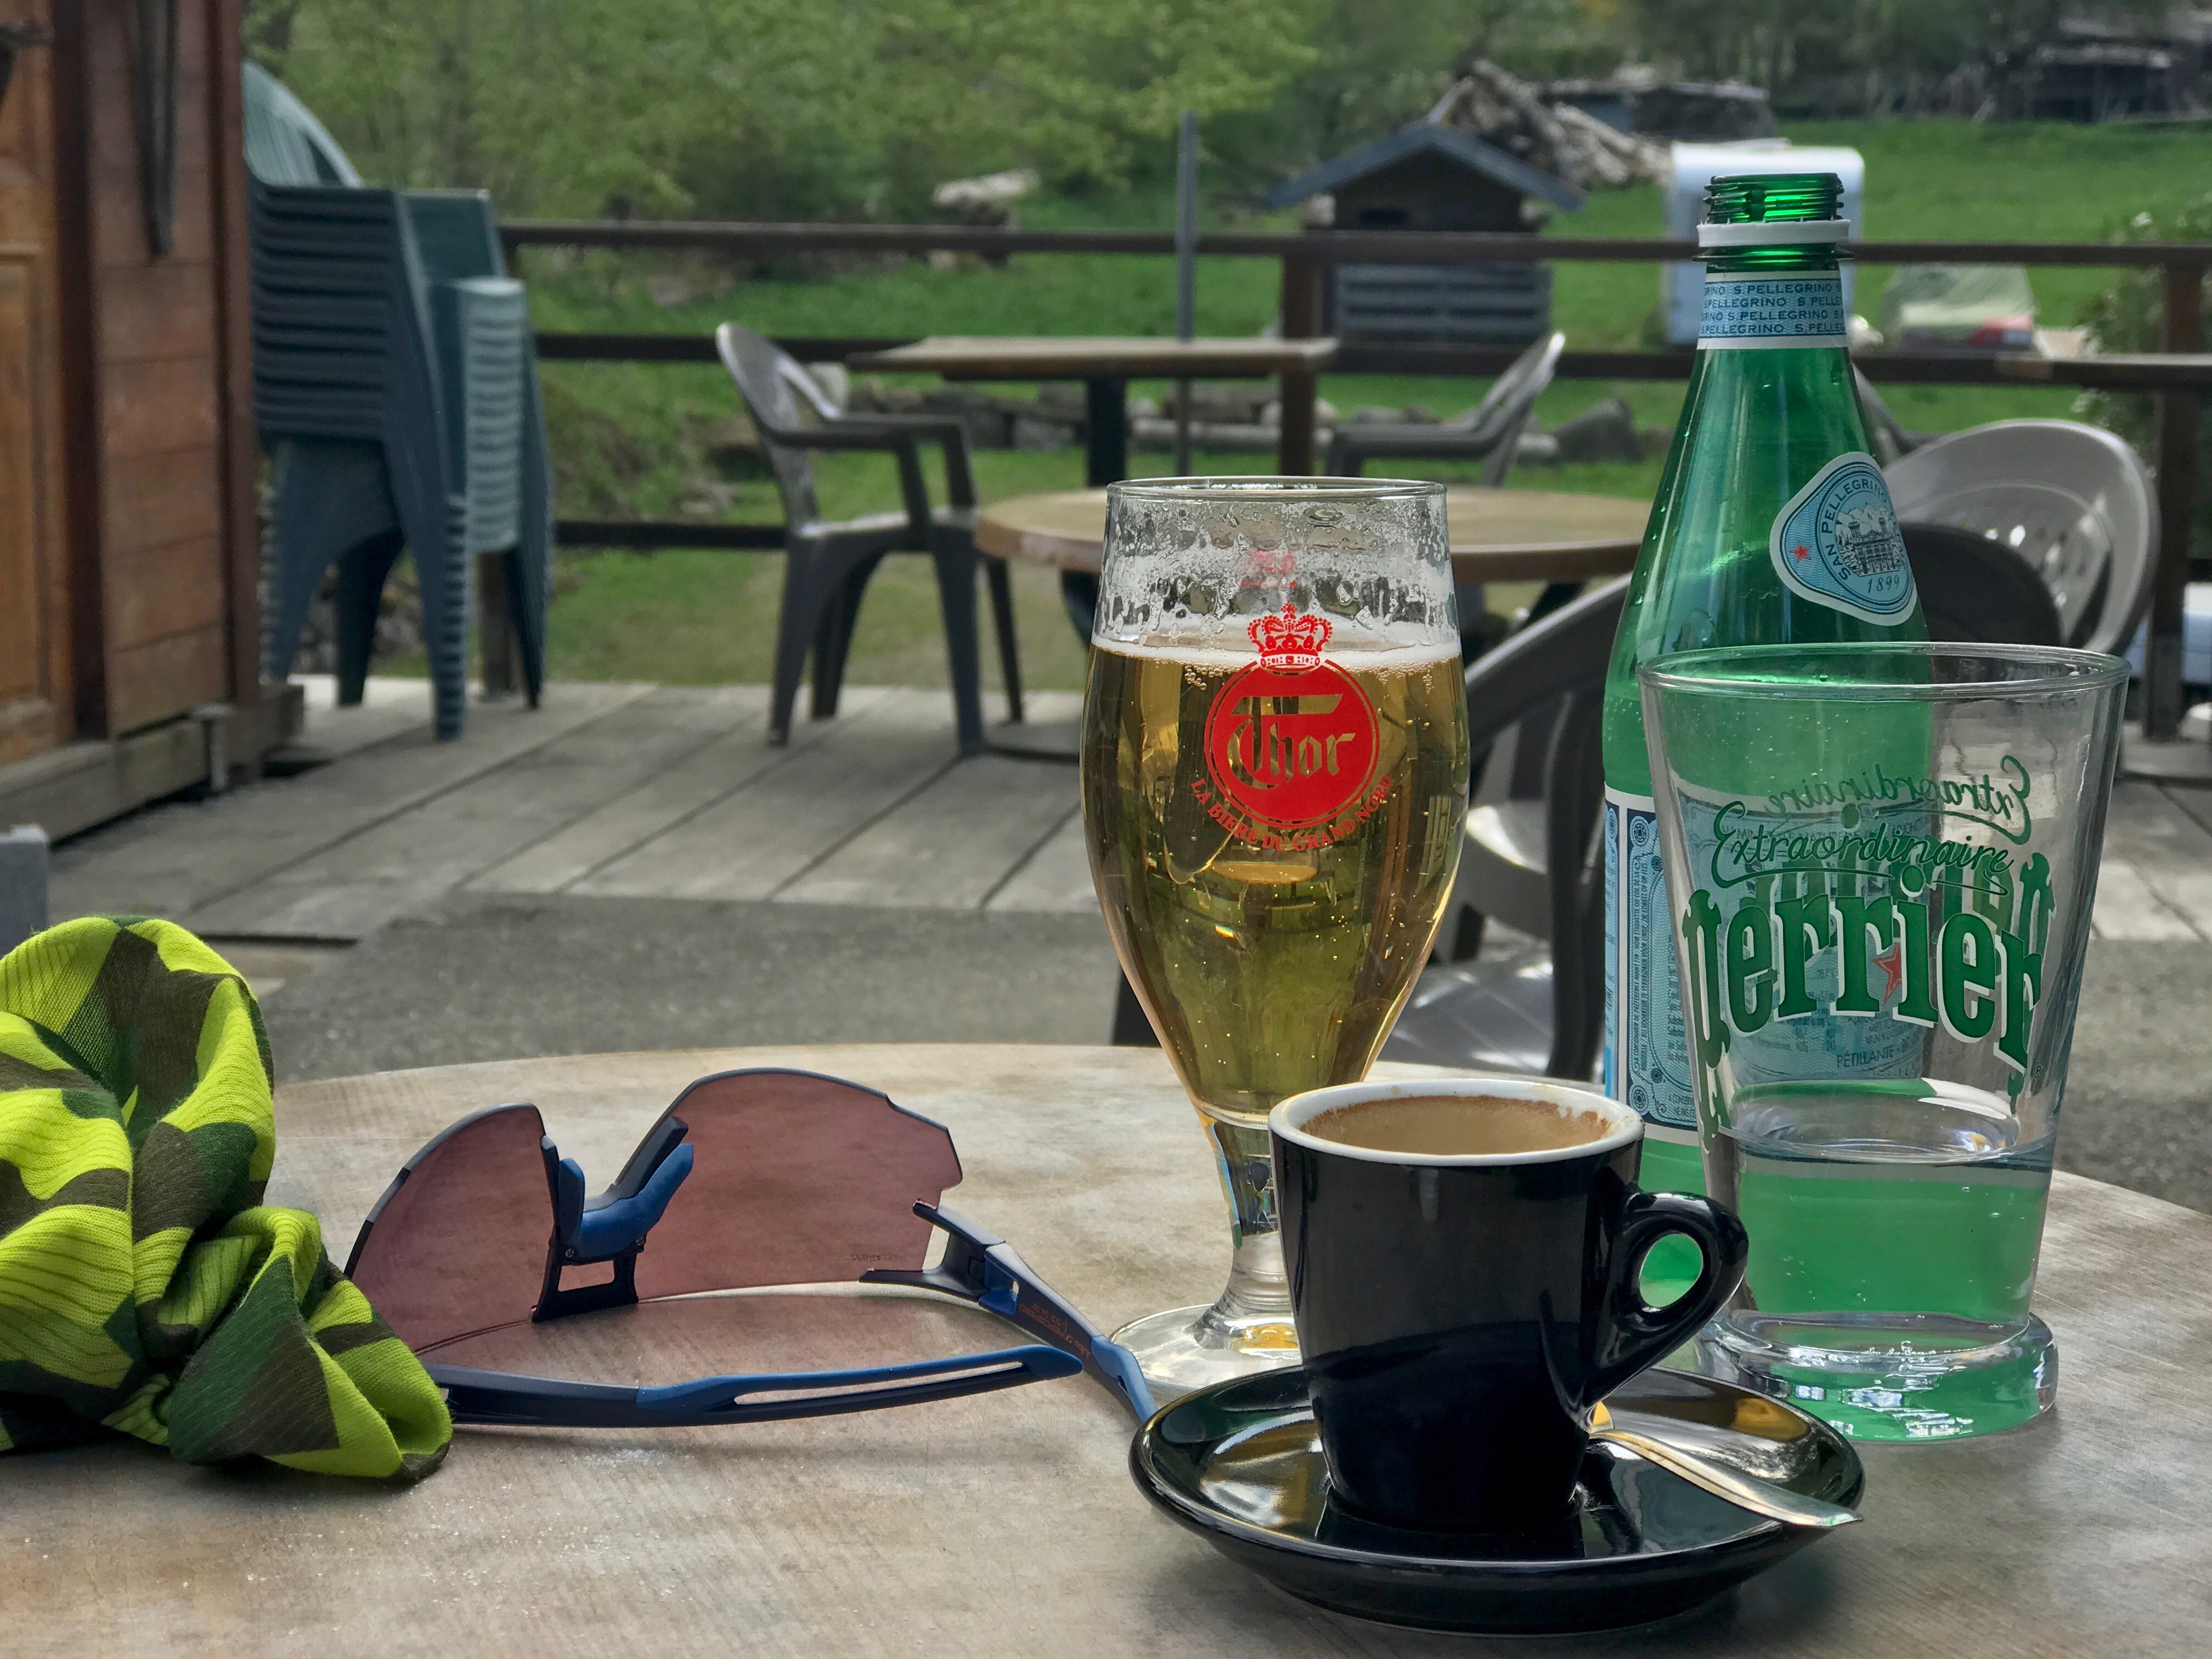
Face
This might not seem as relevant, and also not as obvious: But don’t forget to protect your eyes!
I wear cycling glasses year-round. Whereas in the warmer months they keep insects and dust out of my eyes, in the winter it’s the cold wind that can easily cause irritations and red eyes. And I prefer the “wrap-around” type with a single, rather large lens that extends on both sides around my face. I find this shape avoids the build-up of turbulences and thus (again) protects my eyes.
But be mindful of light absorption/reflection of the lenses:
Very dark and heavily mirrored glasses are probably not a good idea, as long as we are talking winter, in the sense of short days, long nights and overcast skies. — In times of only few hours of daylight, you may find yourself literally riding in the dark!
There are specific lenses for riding at night. IMO, the better option are so-called “photochromic” lenses. They dynamically darken in daylight, gradually, in response to the intensity of the light around you. Depending on the technology used, photochromic lenses may darken much more in colder temperatures. Modern photochromic technology however has supposedly become mostly independent of ambient temperature.
The range of transmitted visible light differs. Even a single manufacturer may offer photochromic lenses with different ranges between the lowest and the highest percentages of (visible) light they let pass through the filters. According to their specifications, the lenses I use vary between 12% (dark) and 87% (almost clear). Note that UV protection is independent from lenses being photochromic or not.
The color tint or base tint is also important.
If you are looking for glasses especially for use in winter (NOT “winter sports” in the sense of alpine skiing, etc.) and for riding outside of the bright daylight hours, try to find lenses with orange, rose or yellow base tints which greatly enhance contrast, especially in overcast or low-light conditions.
Lastly: Be consistent, yet flexible.
This has nothing to do with winter clothes per se. But as I have tried to explain, at least to me, maintaining a relative constant level of exertion is key to long rides in the cold.
I try to avoid overheating. Instead I aim at a constant, or on rides with multiple climbs, carefully regulated power output that in turn ensures a relatively constant body temperature. Strategically chosen cycling kit provides additional options in this regard, enhancing my overall flexbility when it comes to adapt to the outside climate.
What I carry on each ride depends largely on weather forecast, length of the planned route and the setup of bags I choose for a particular ride. In the winter, I always pack a bit more, but rarely everything described here.